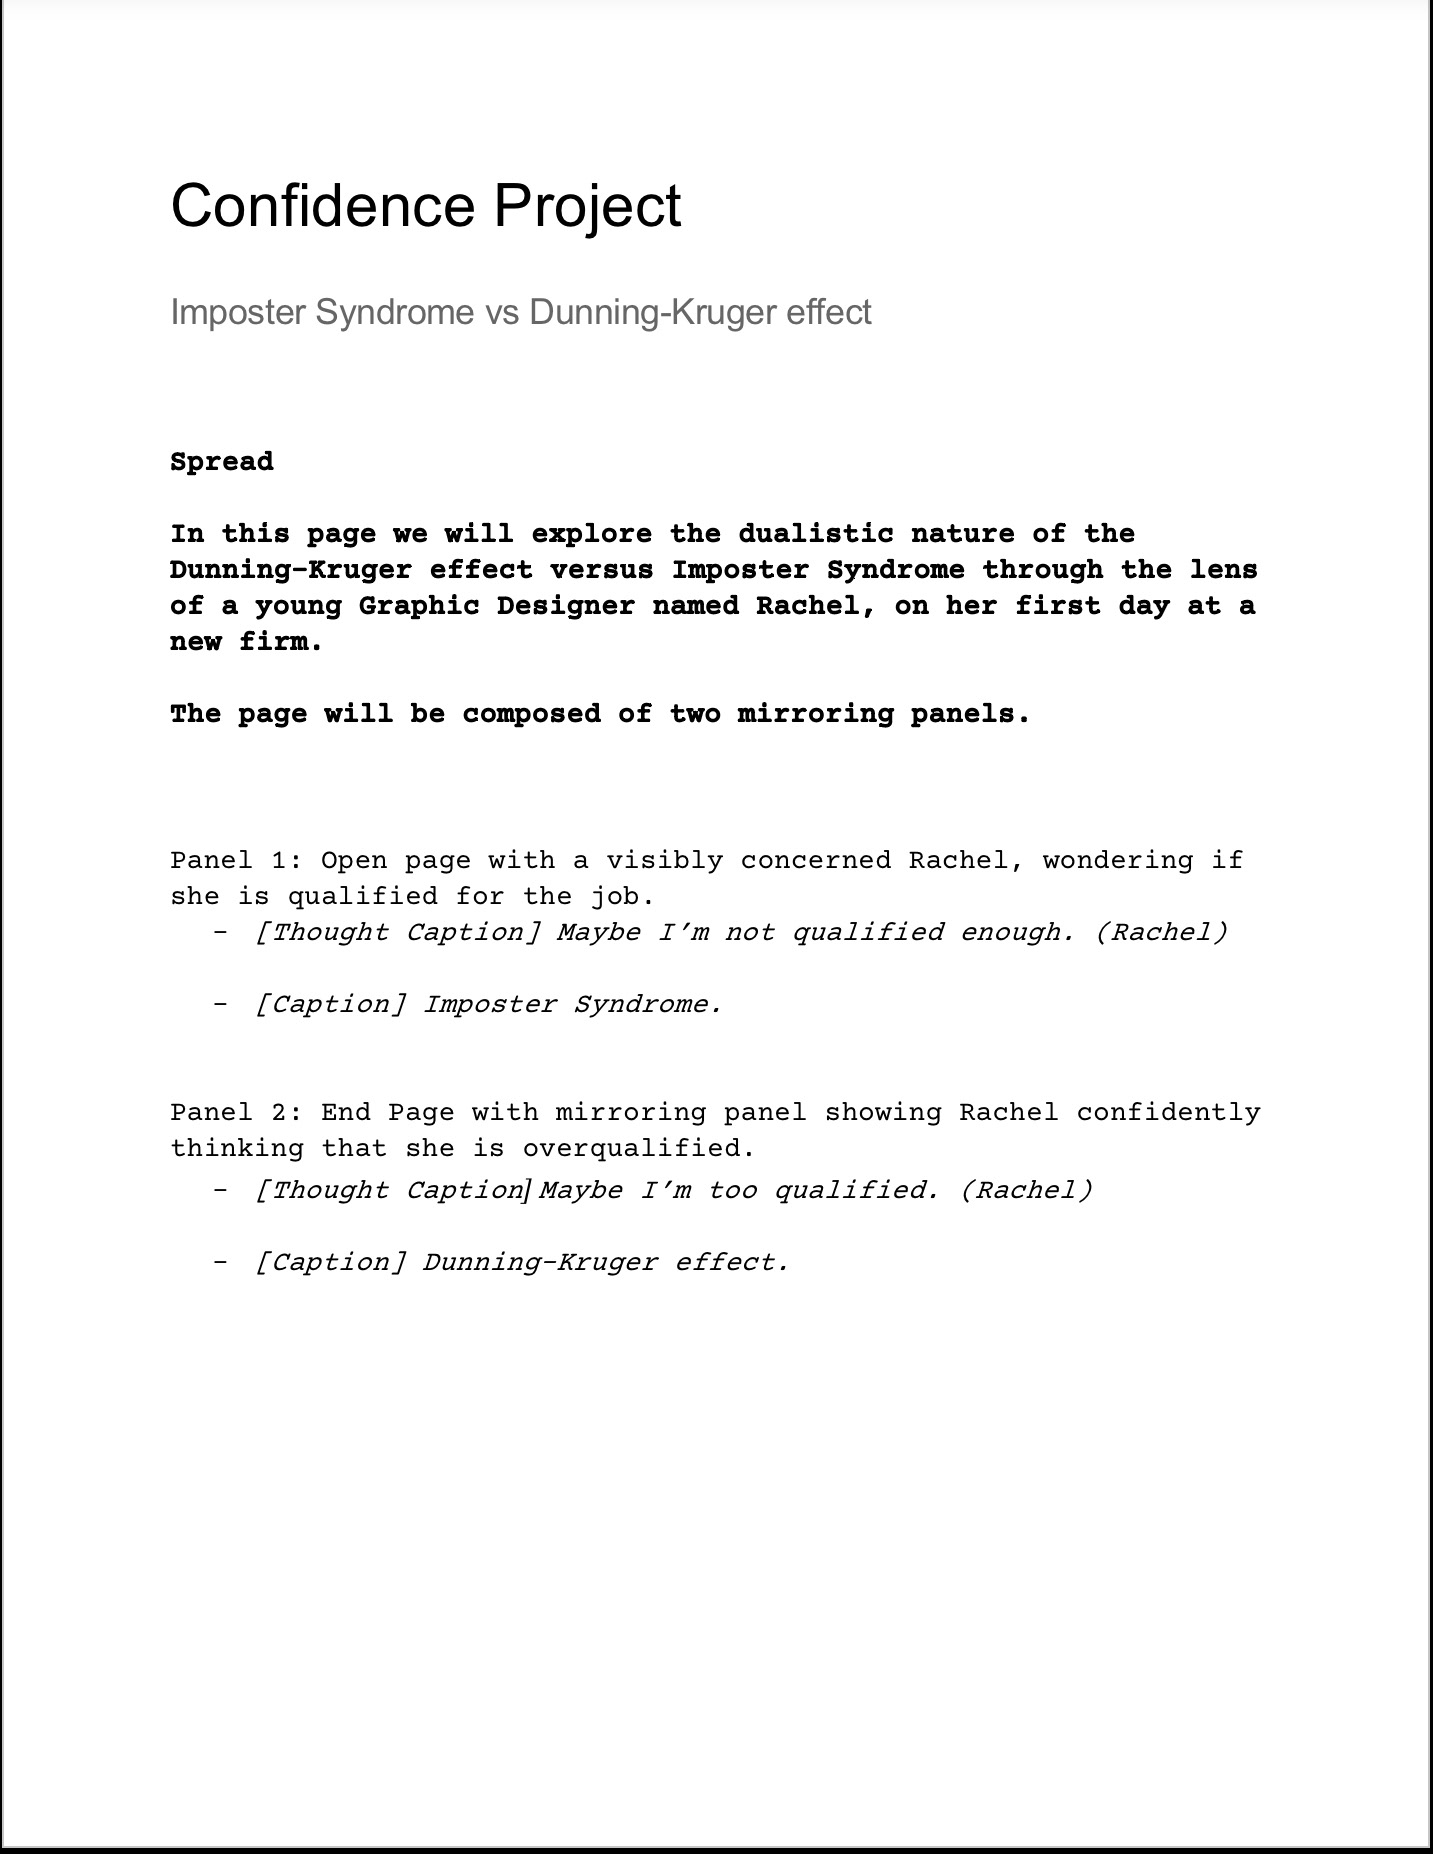
1: Script
By far the most important part of the process.
You might have a whole story in your noggin ready to run laps; but having a finished script before you start drawing takes care of small things like plot holes, plot points, conflicts, character development, 3 act structures, and so forth and so on. And trust me, those small things tend to add up to big headaches pretty quickly.

2: Thumbnails
Basically scribbles, so my least favorite part of the process.
Started not doing them at all, and jumping right to the sketches, until I realized how important these little scribbles are to a page breakdown. Because again, the more I plan before I start drawing, the more smoothly the rest of the process.
This Process and everything after that is done through MediBang Paint, although I’ve been known to clean my inks though photoshop from time to time.
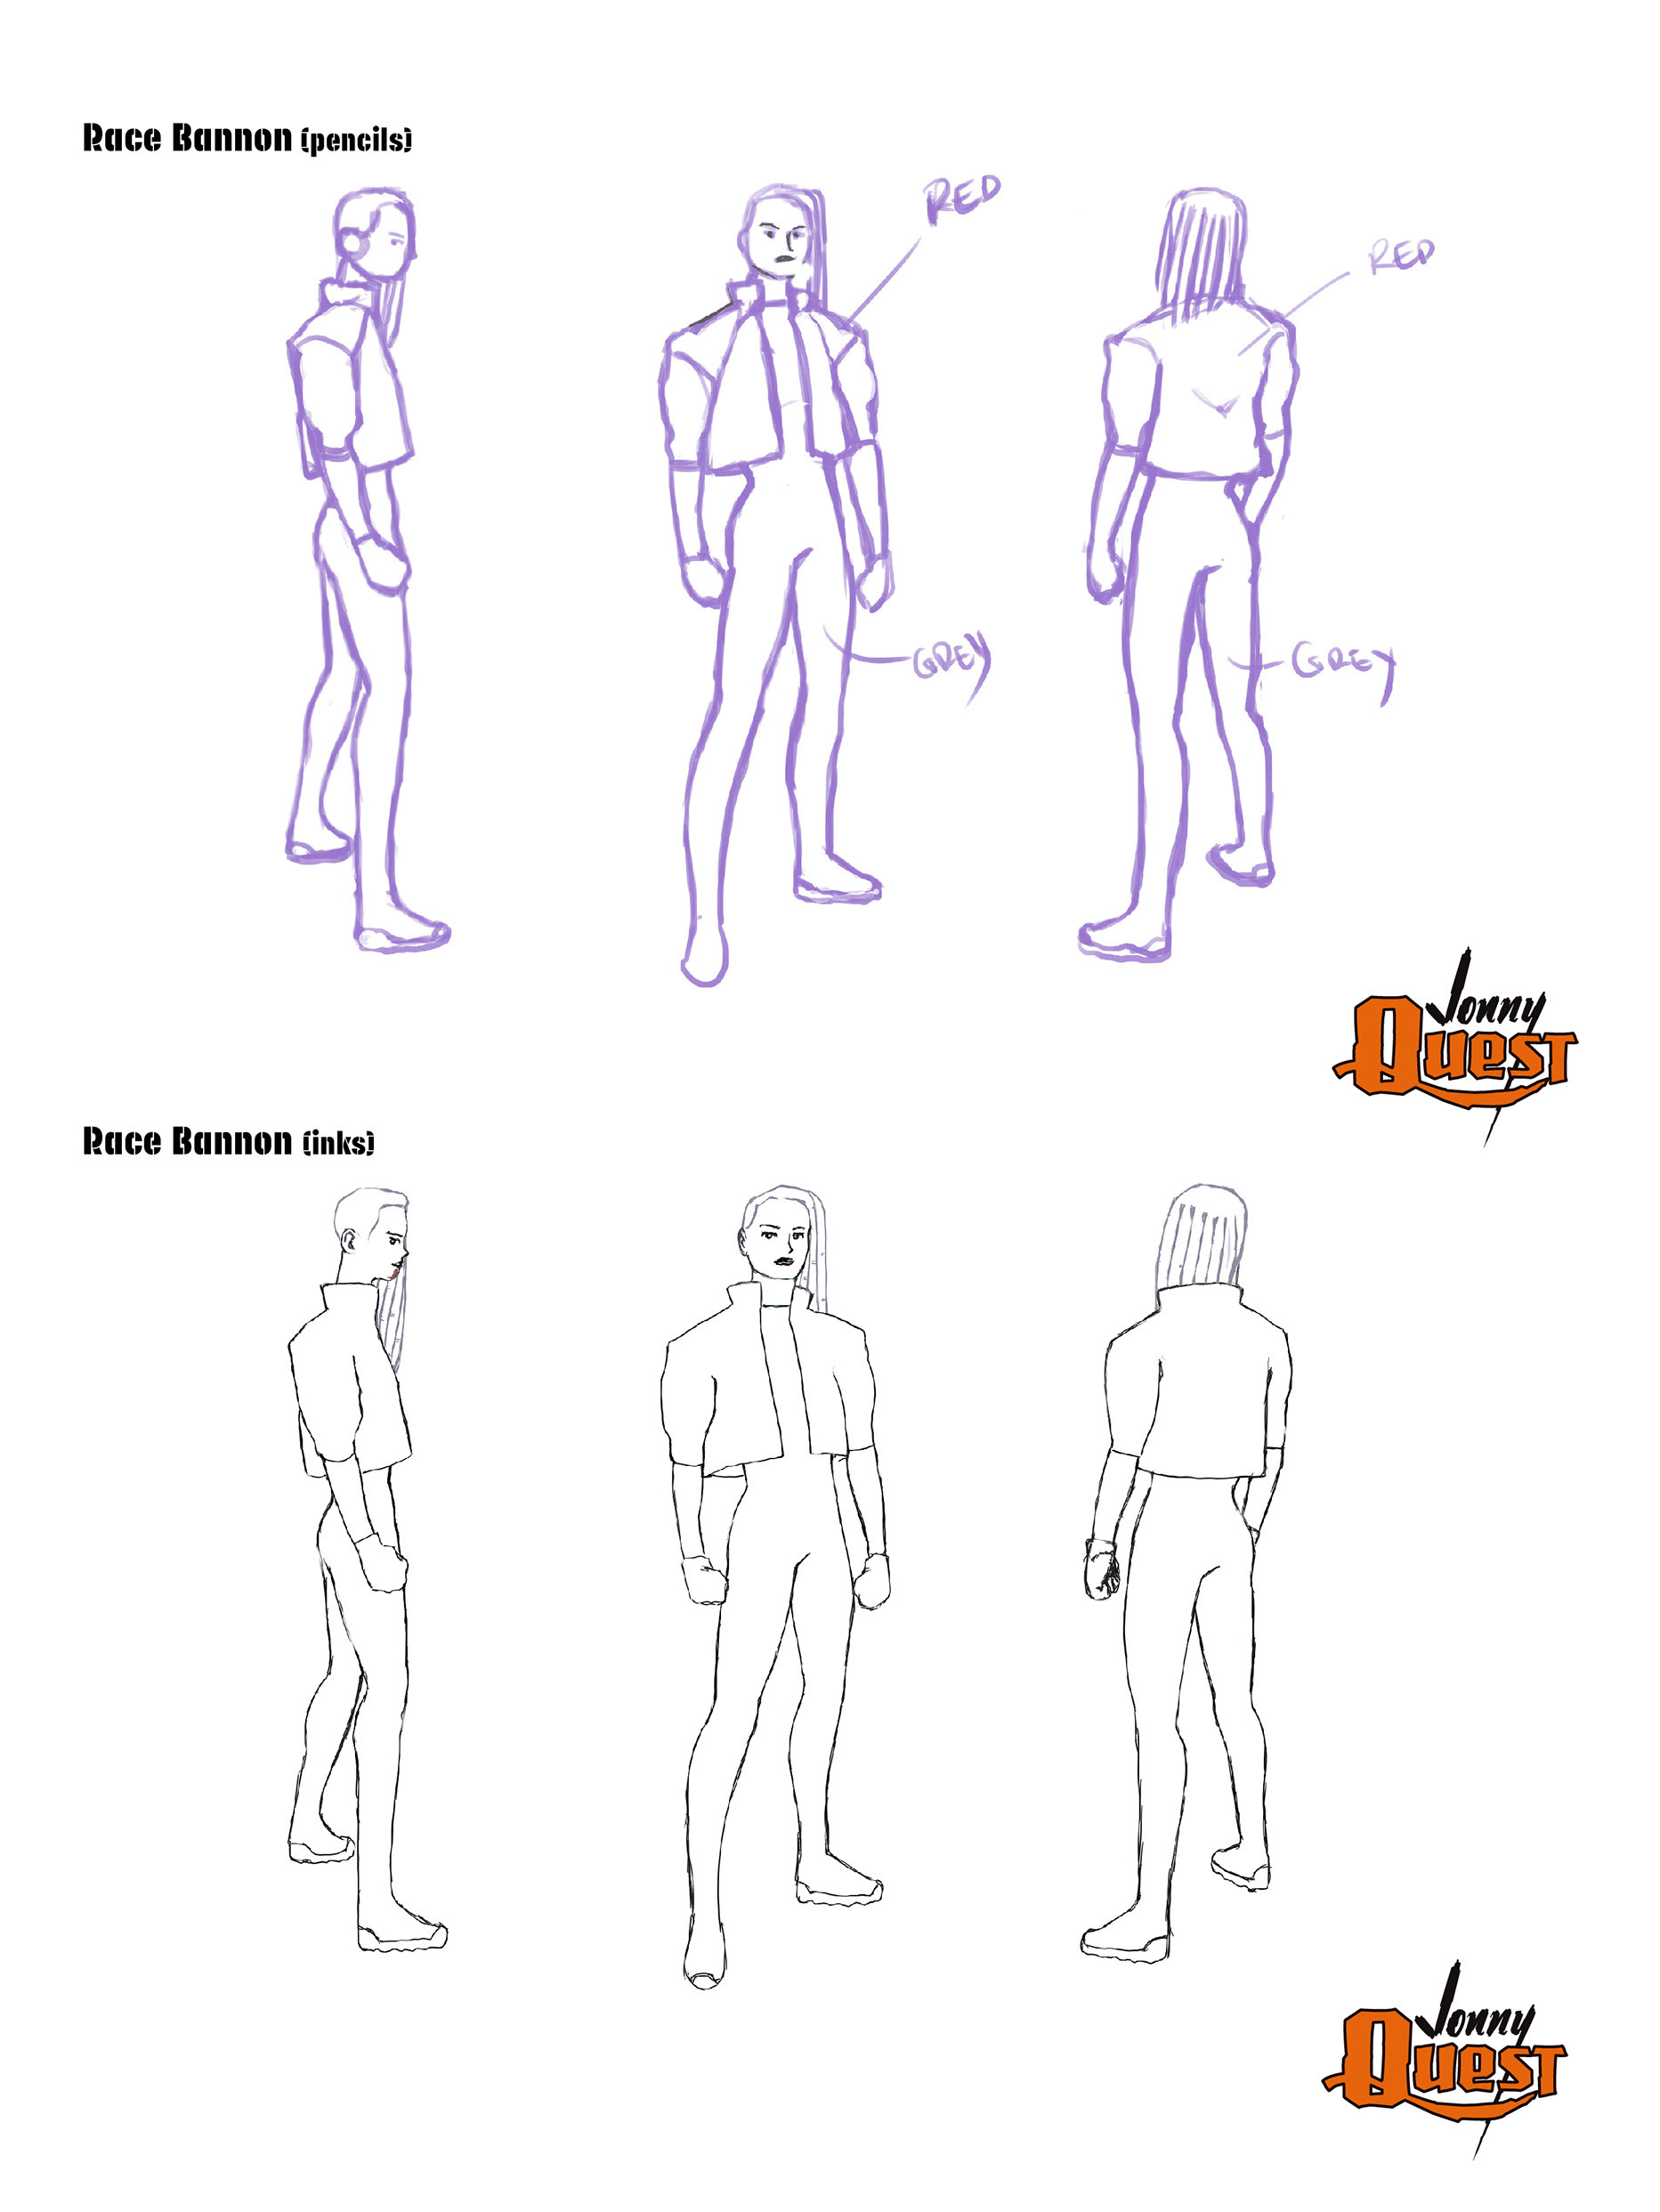
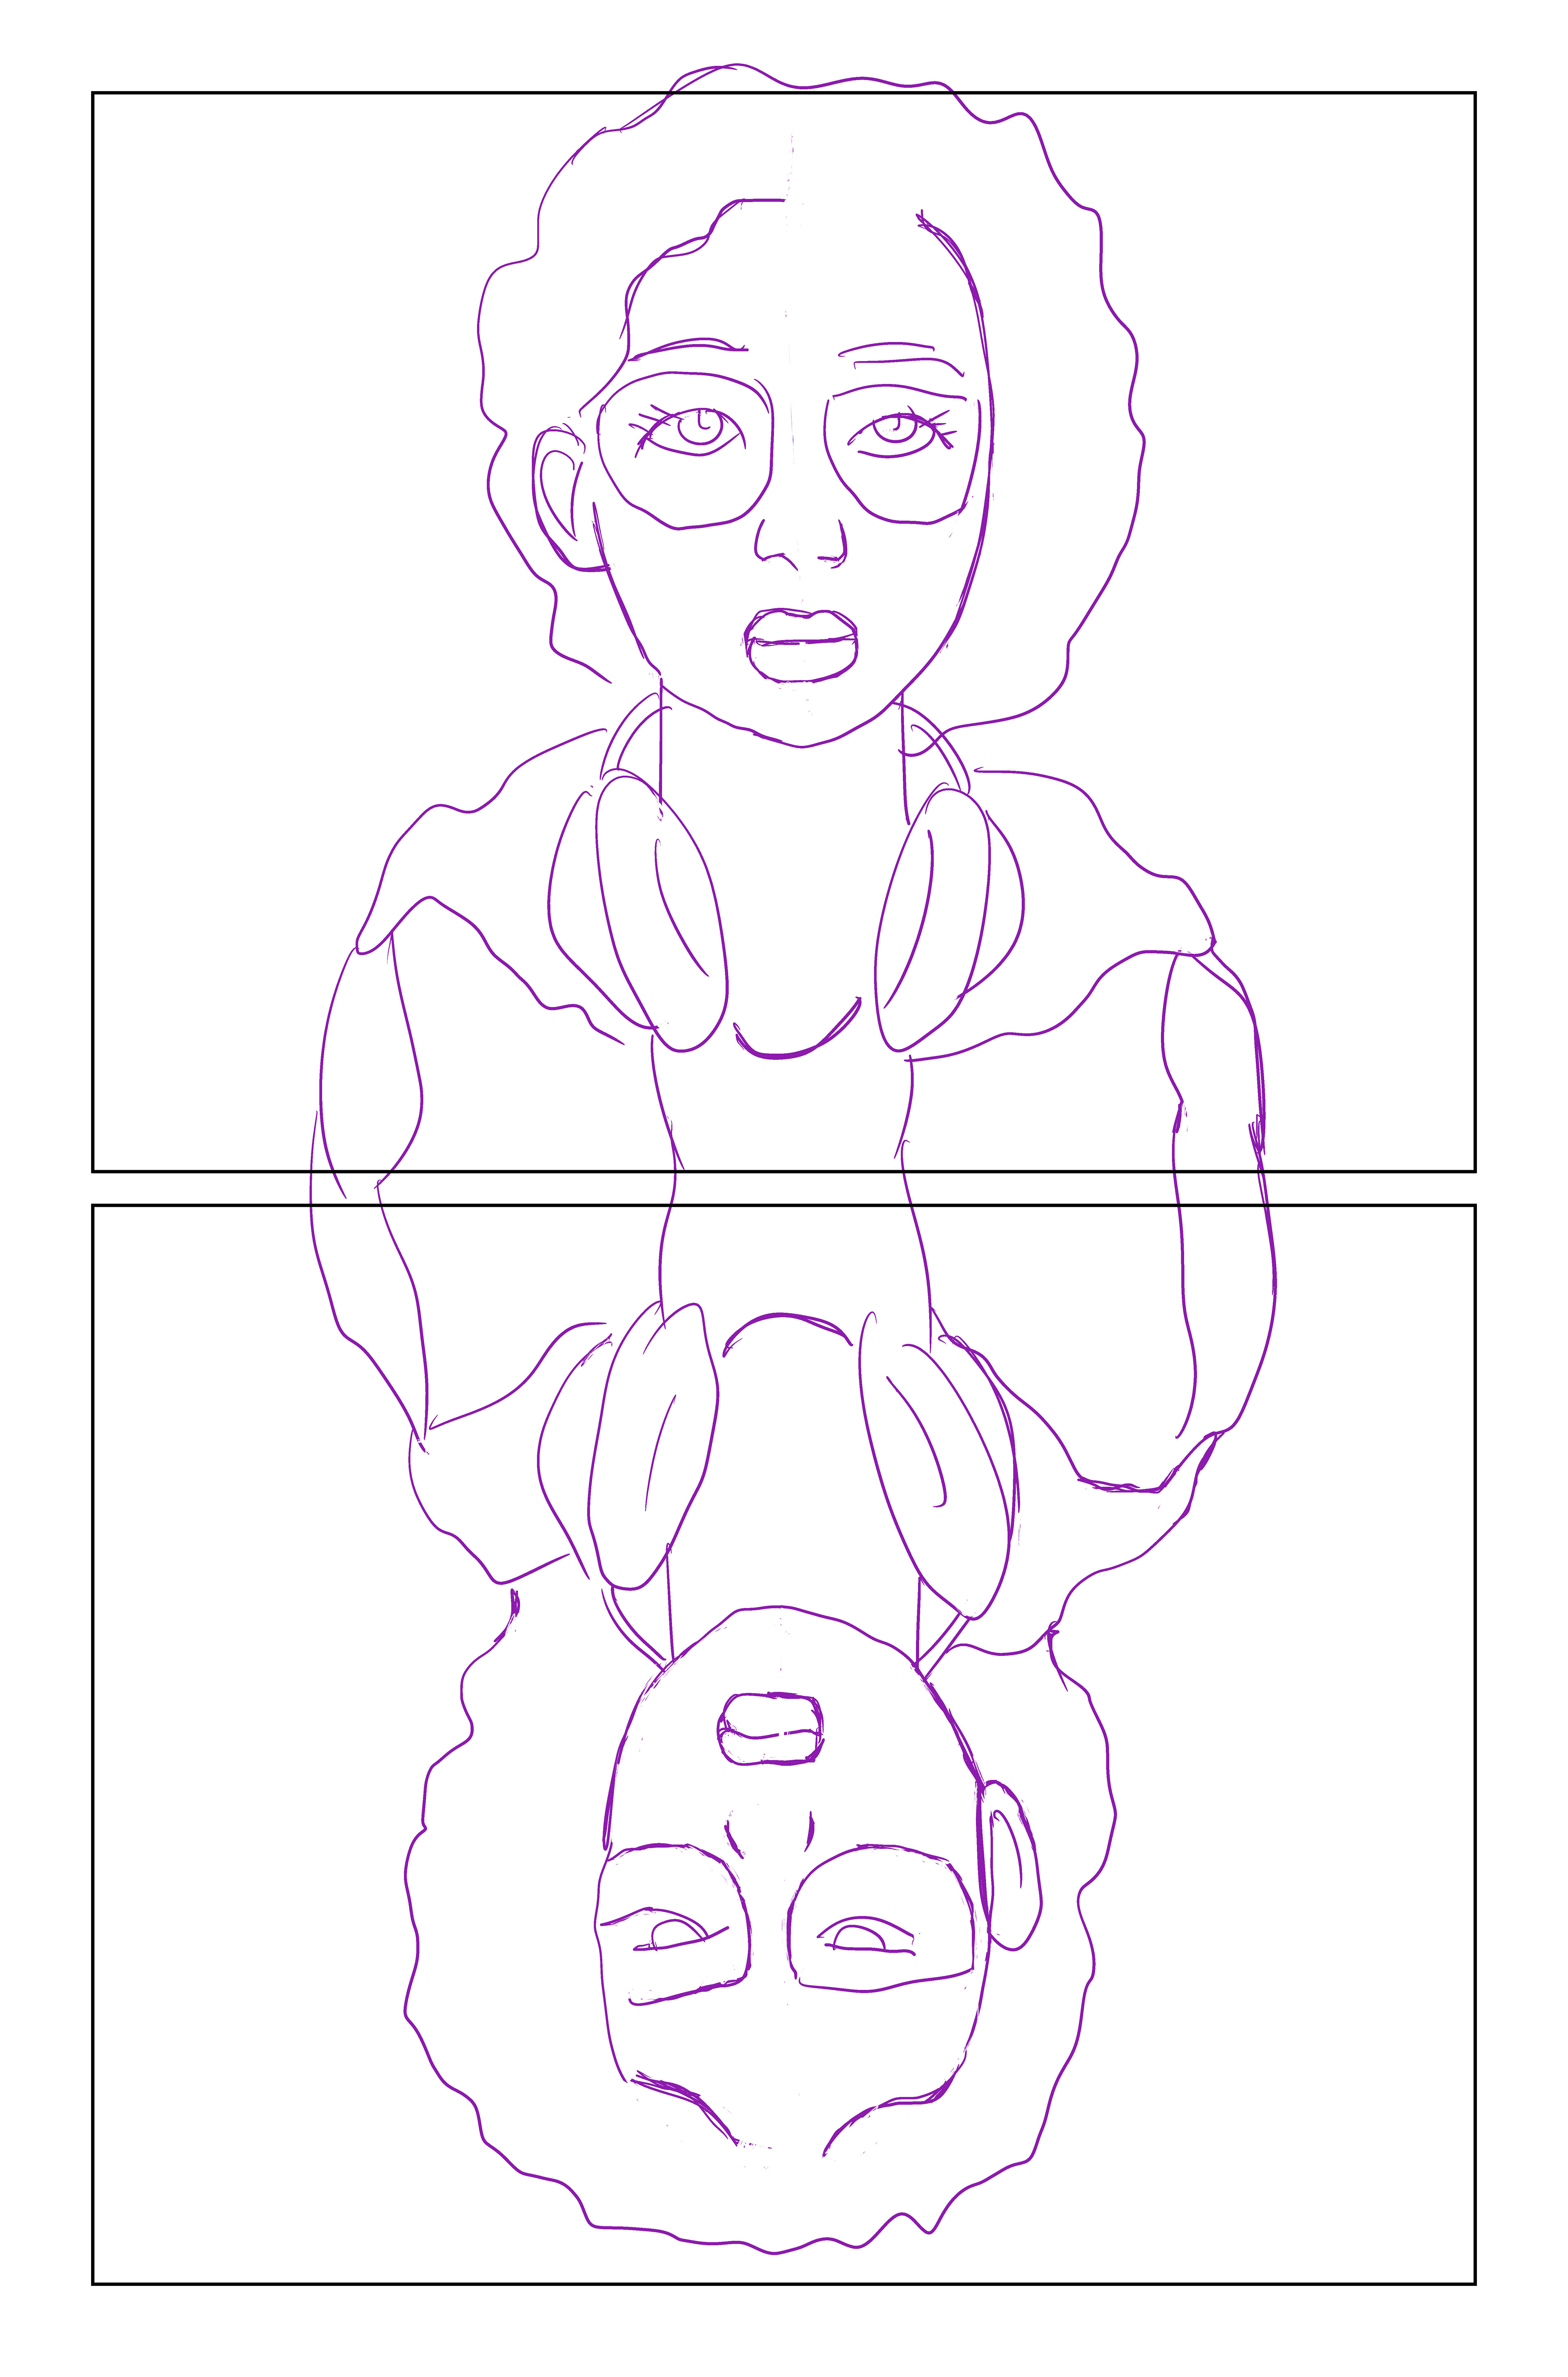
3: Rough sketches, Pencils
The moment I get a feel for what the layout of the page will look like (thanks to the thumbnails), I begin the rough sketching process. At this point things don’t have to be perfect, just good enough for others to make out what is going on.
To me this is the easiest part of the process, because although you start having an idea of what’s going on, the details are not so important yet.

4: Borders and Panels
Formatting the borders used to come first. I’d start by tracing the borders for each panel the way I would imagine the page should look reading the script. Now fast forward to an older and wiser me, after he had rearranged borders on finished panels because he’d missed details from the script more time than he’d like to admit, and what you have is someone who now makes sure that his thumbnails and rough sketches are done before his borders.
From afar, this process might seem somewhat mundane, but try to imagine your favorite movie scene shot awkwardly, with bad framing … … … Yea…
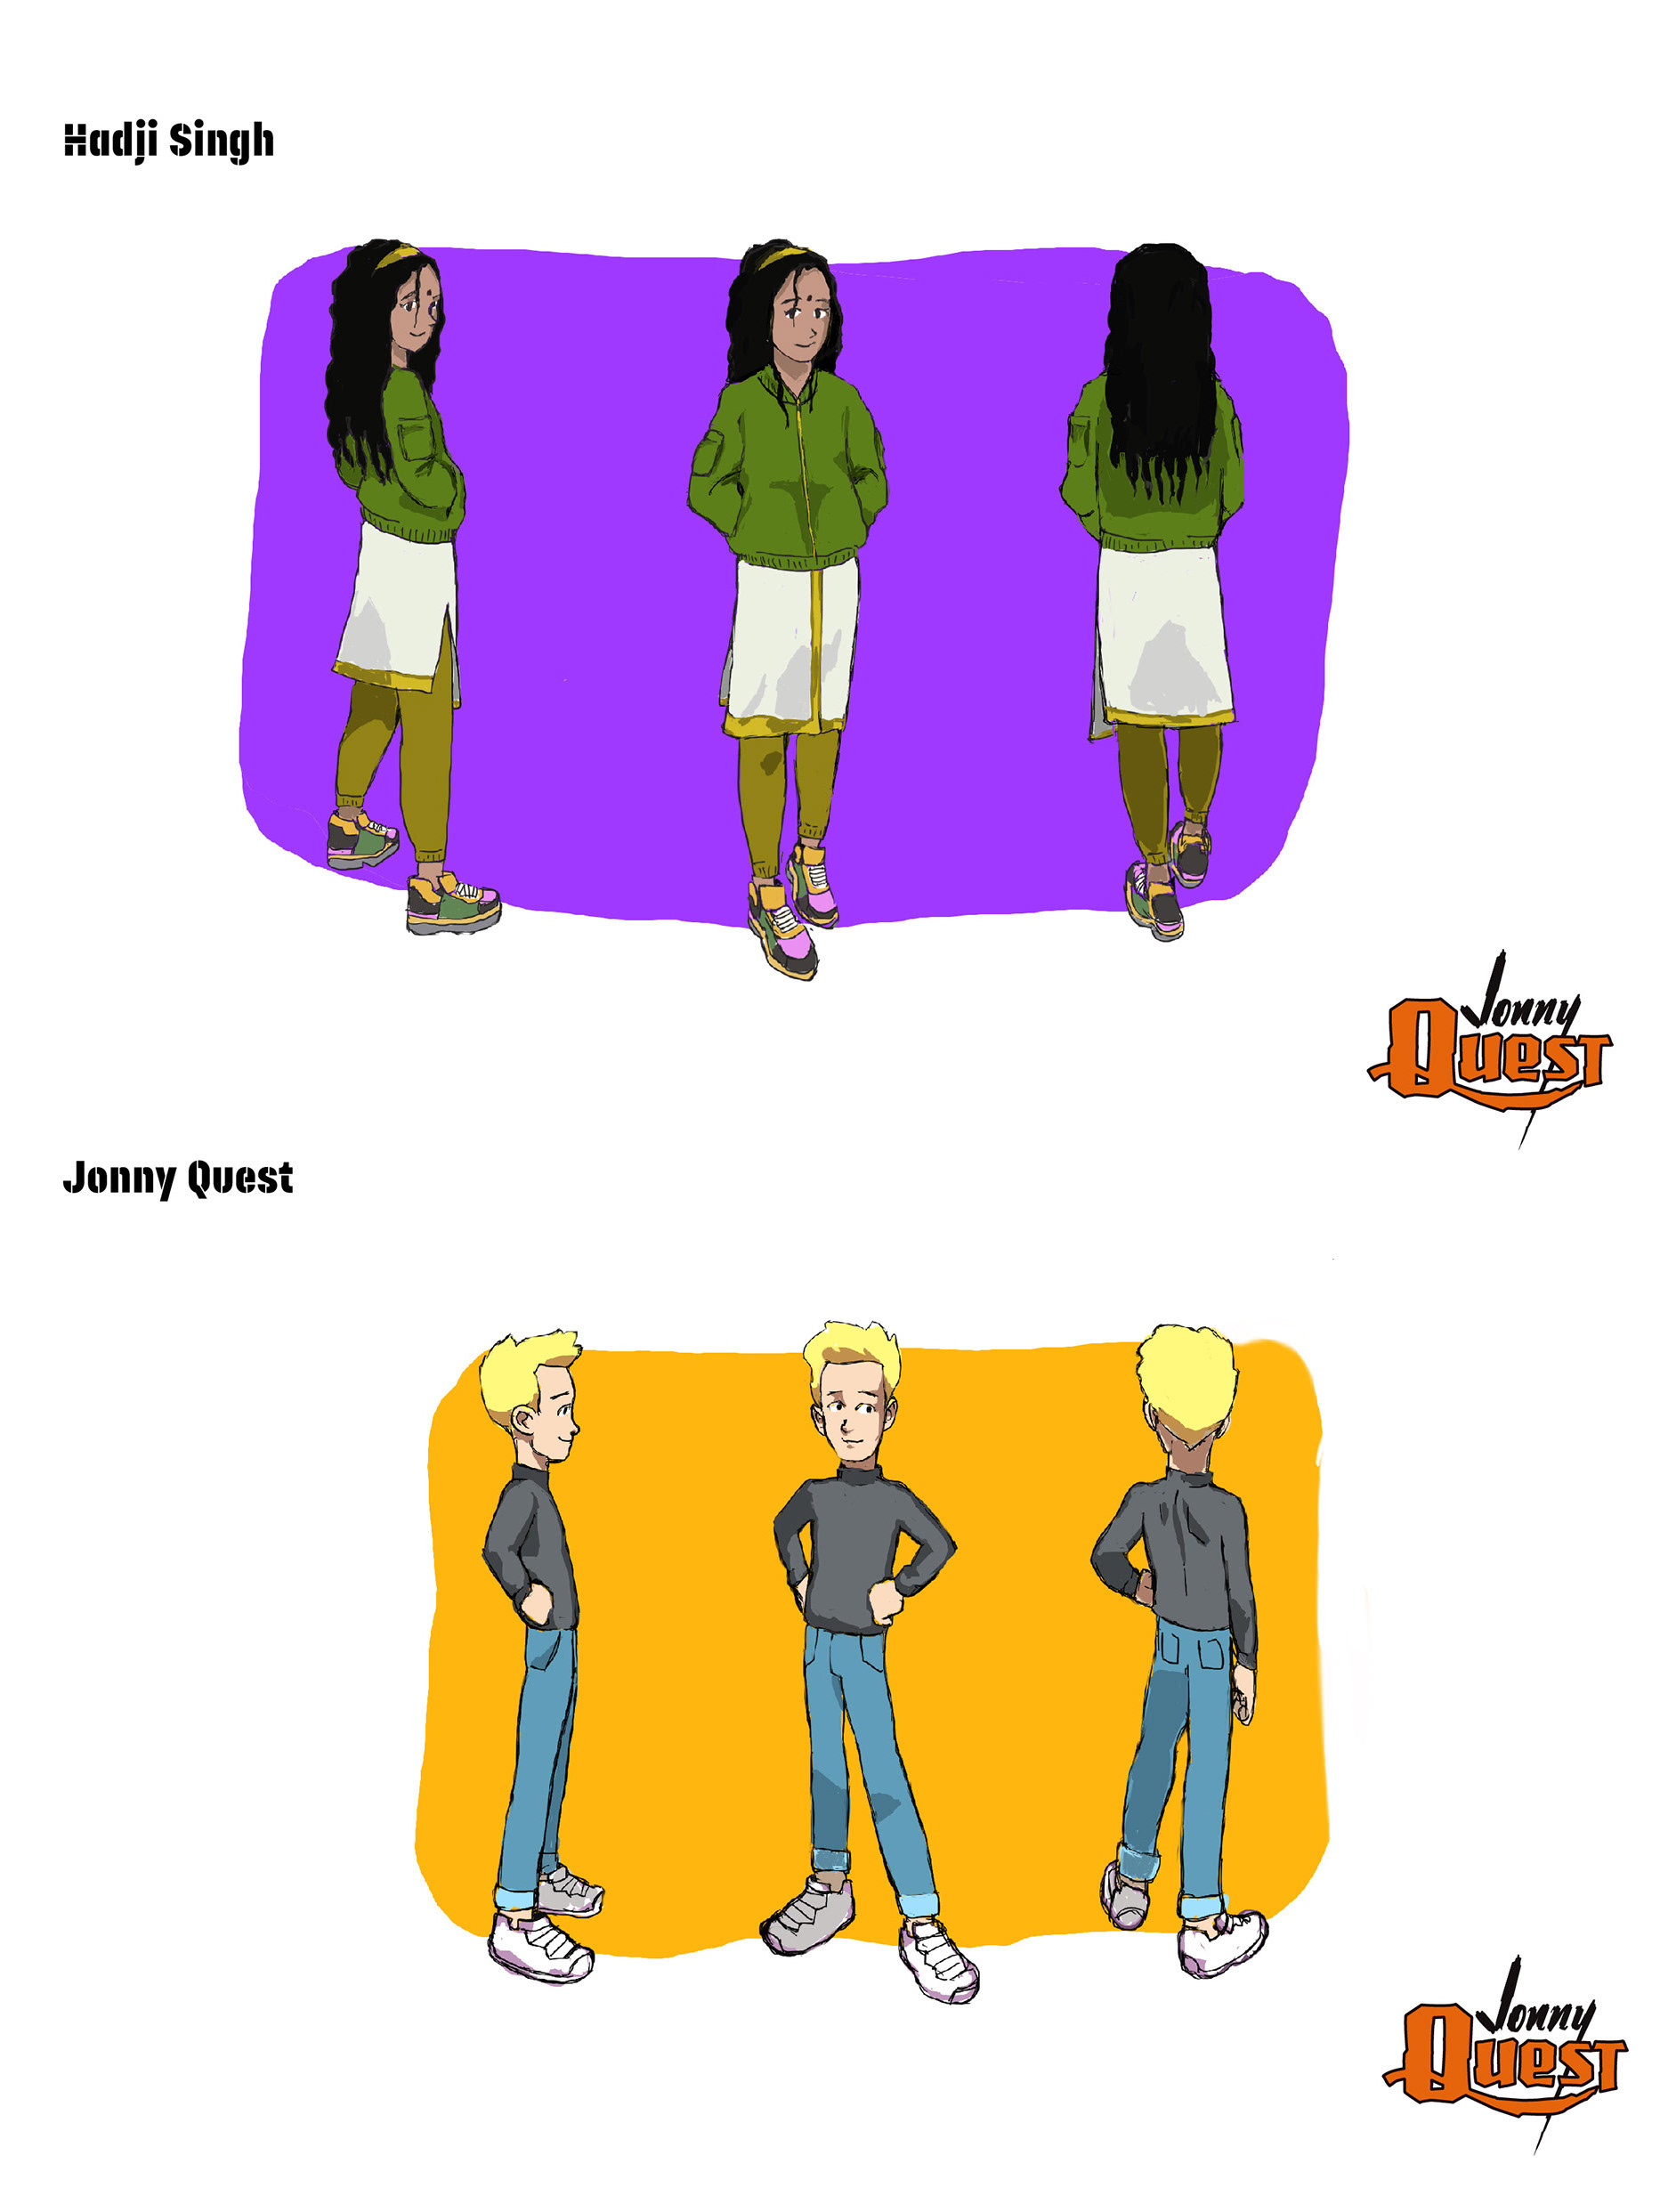
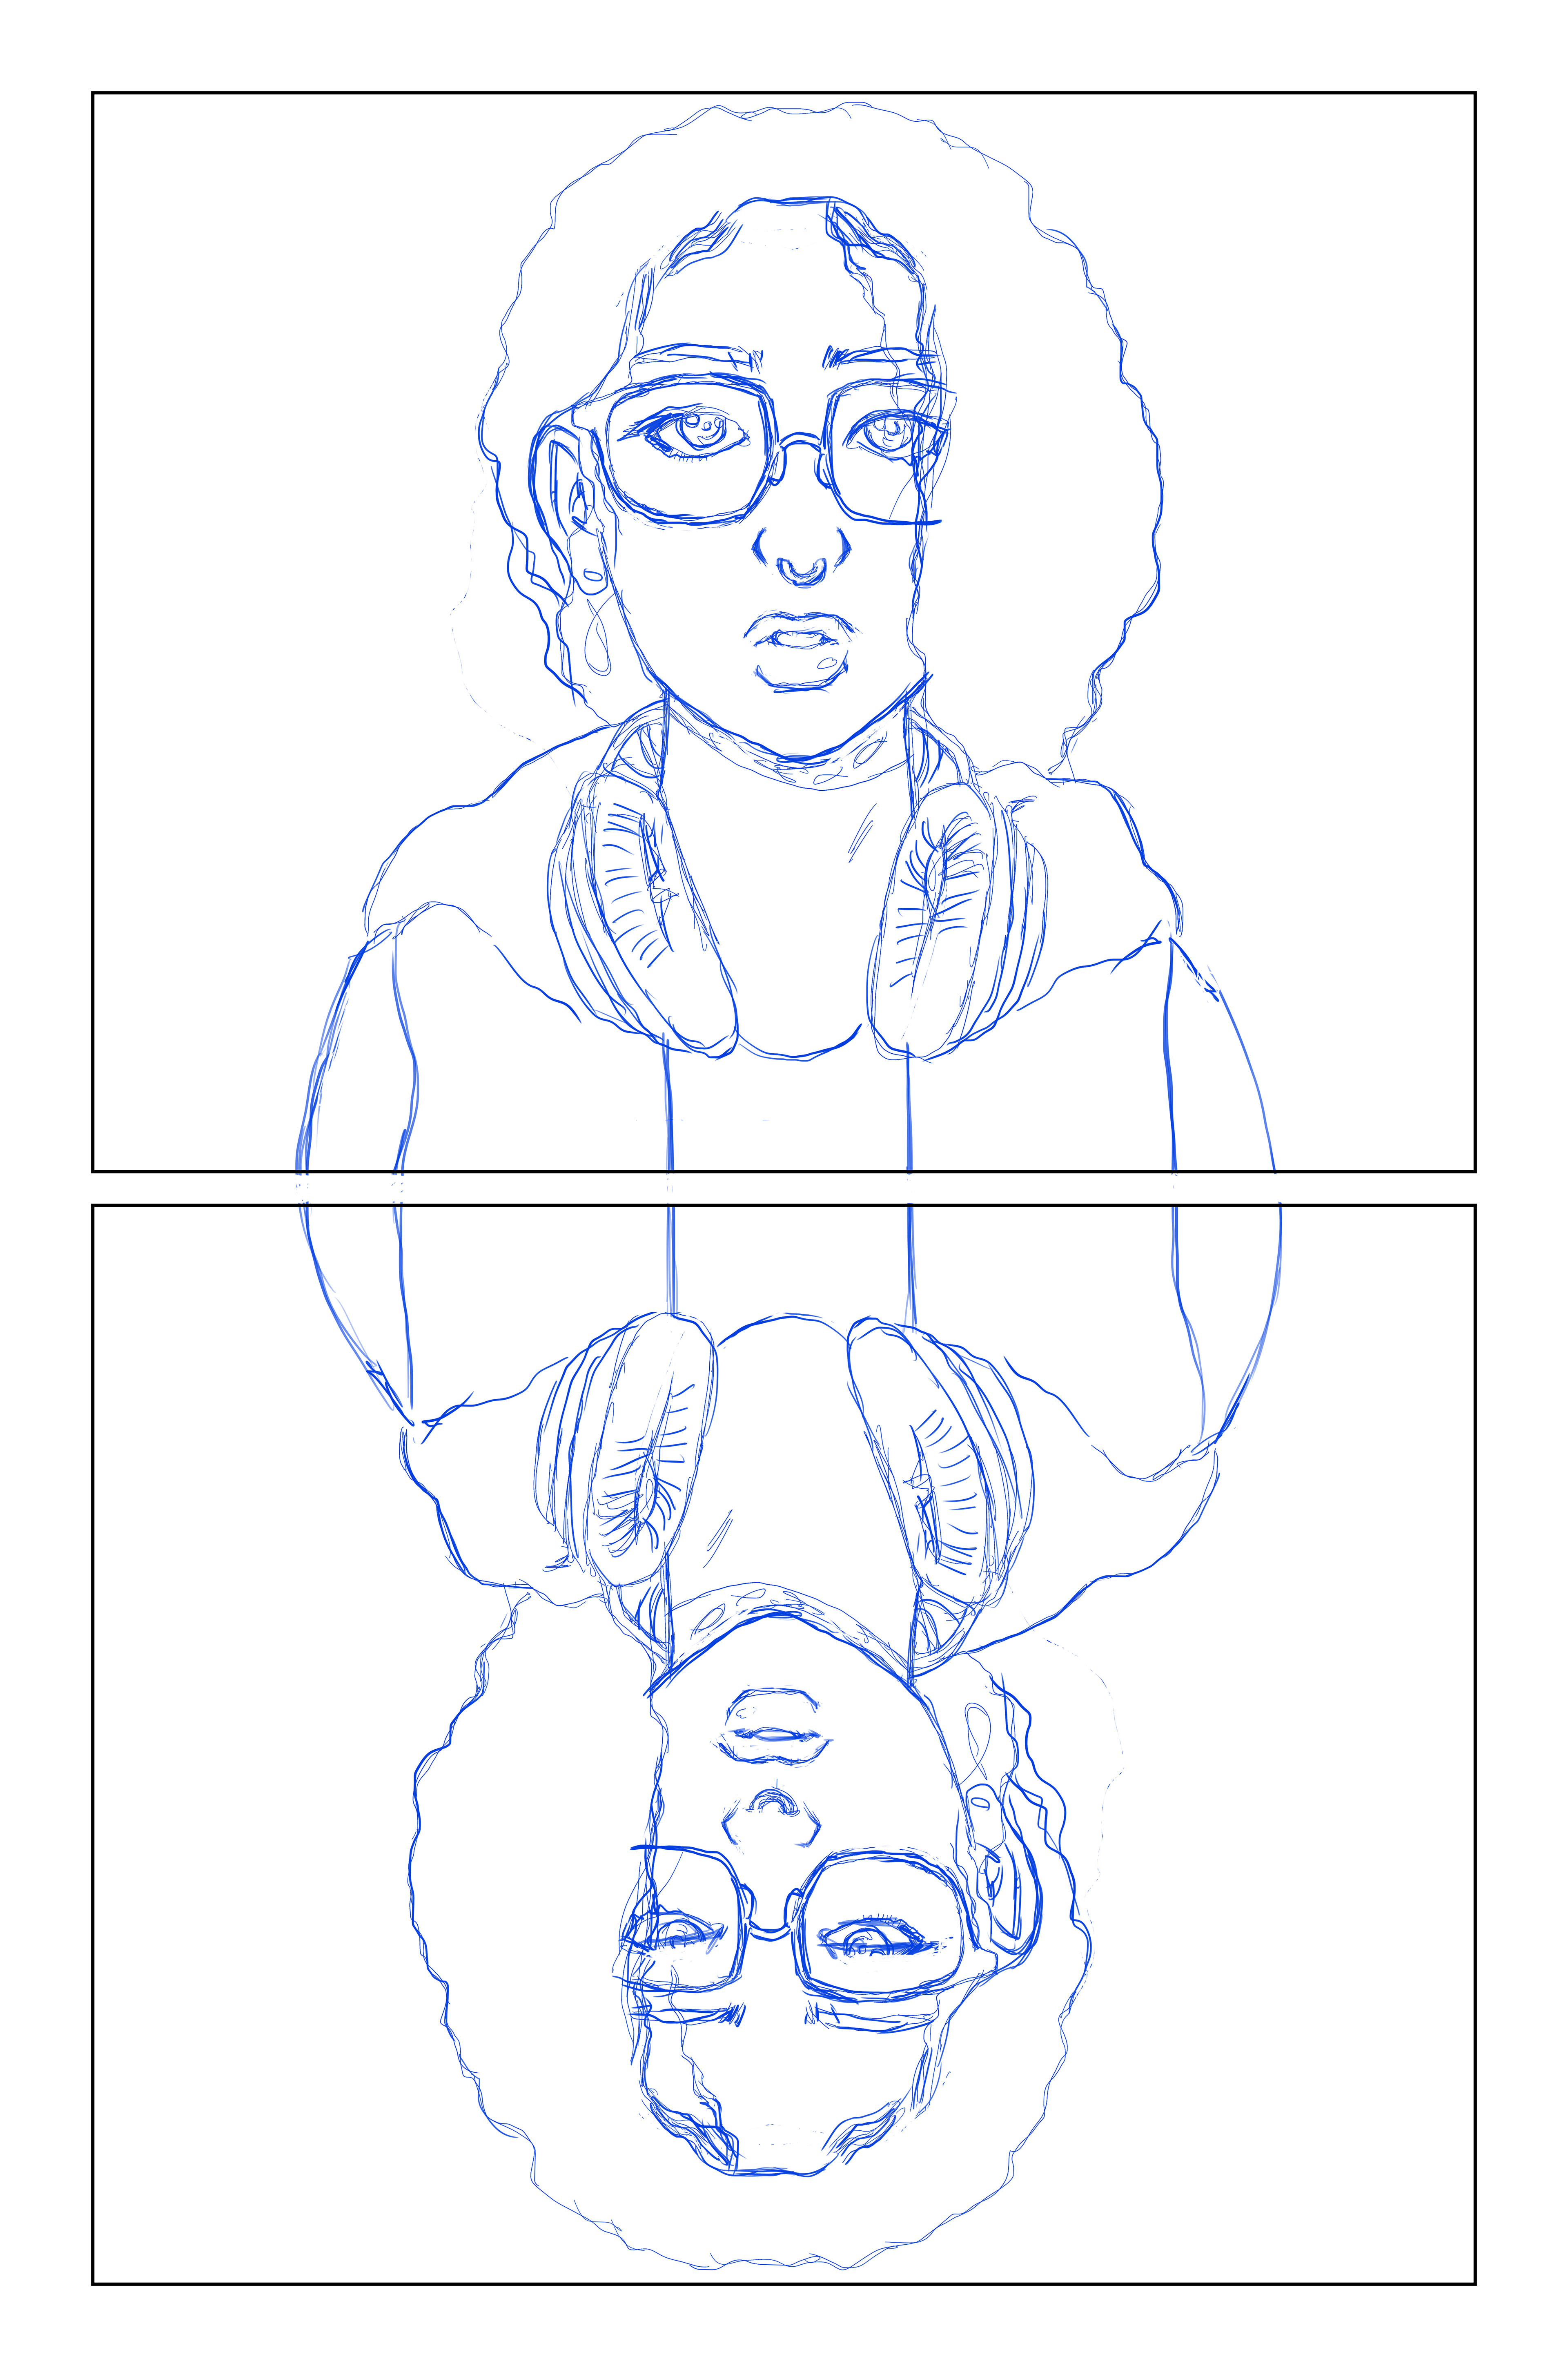
5: Sketching, Pencils
Using my rough sketches as a guide, I’ll sketch the pages going into more detail, especially on backgrounds.
Nothing is set in stone yet and a picture might change from my original ideas, but most of the time I stick with the roughs I’ve already decided on.

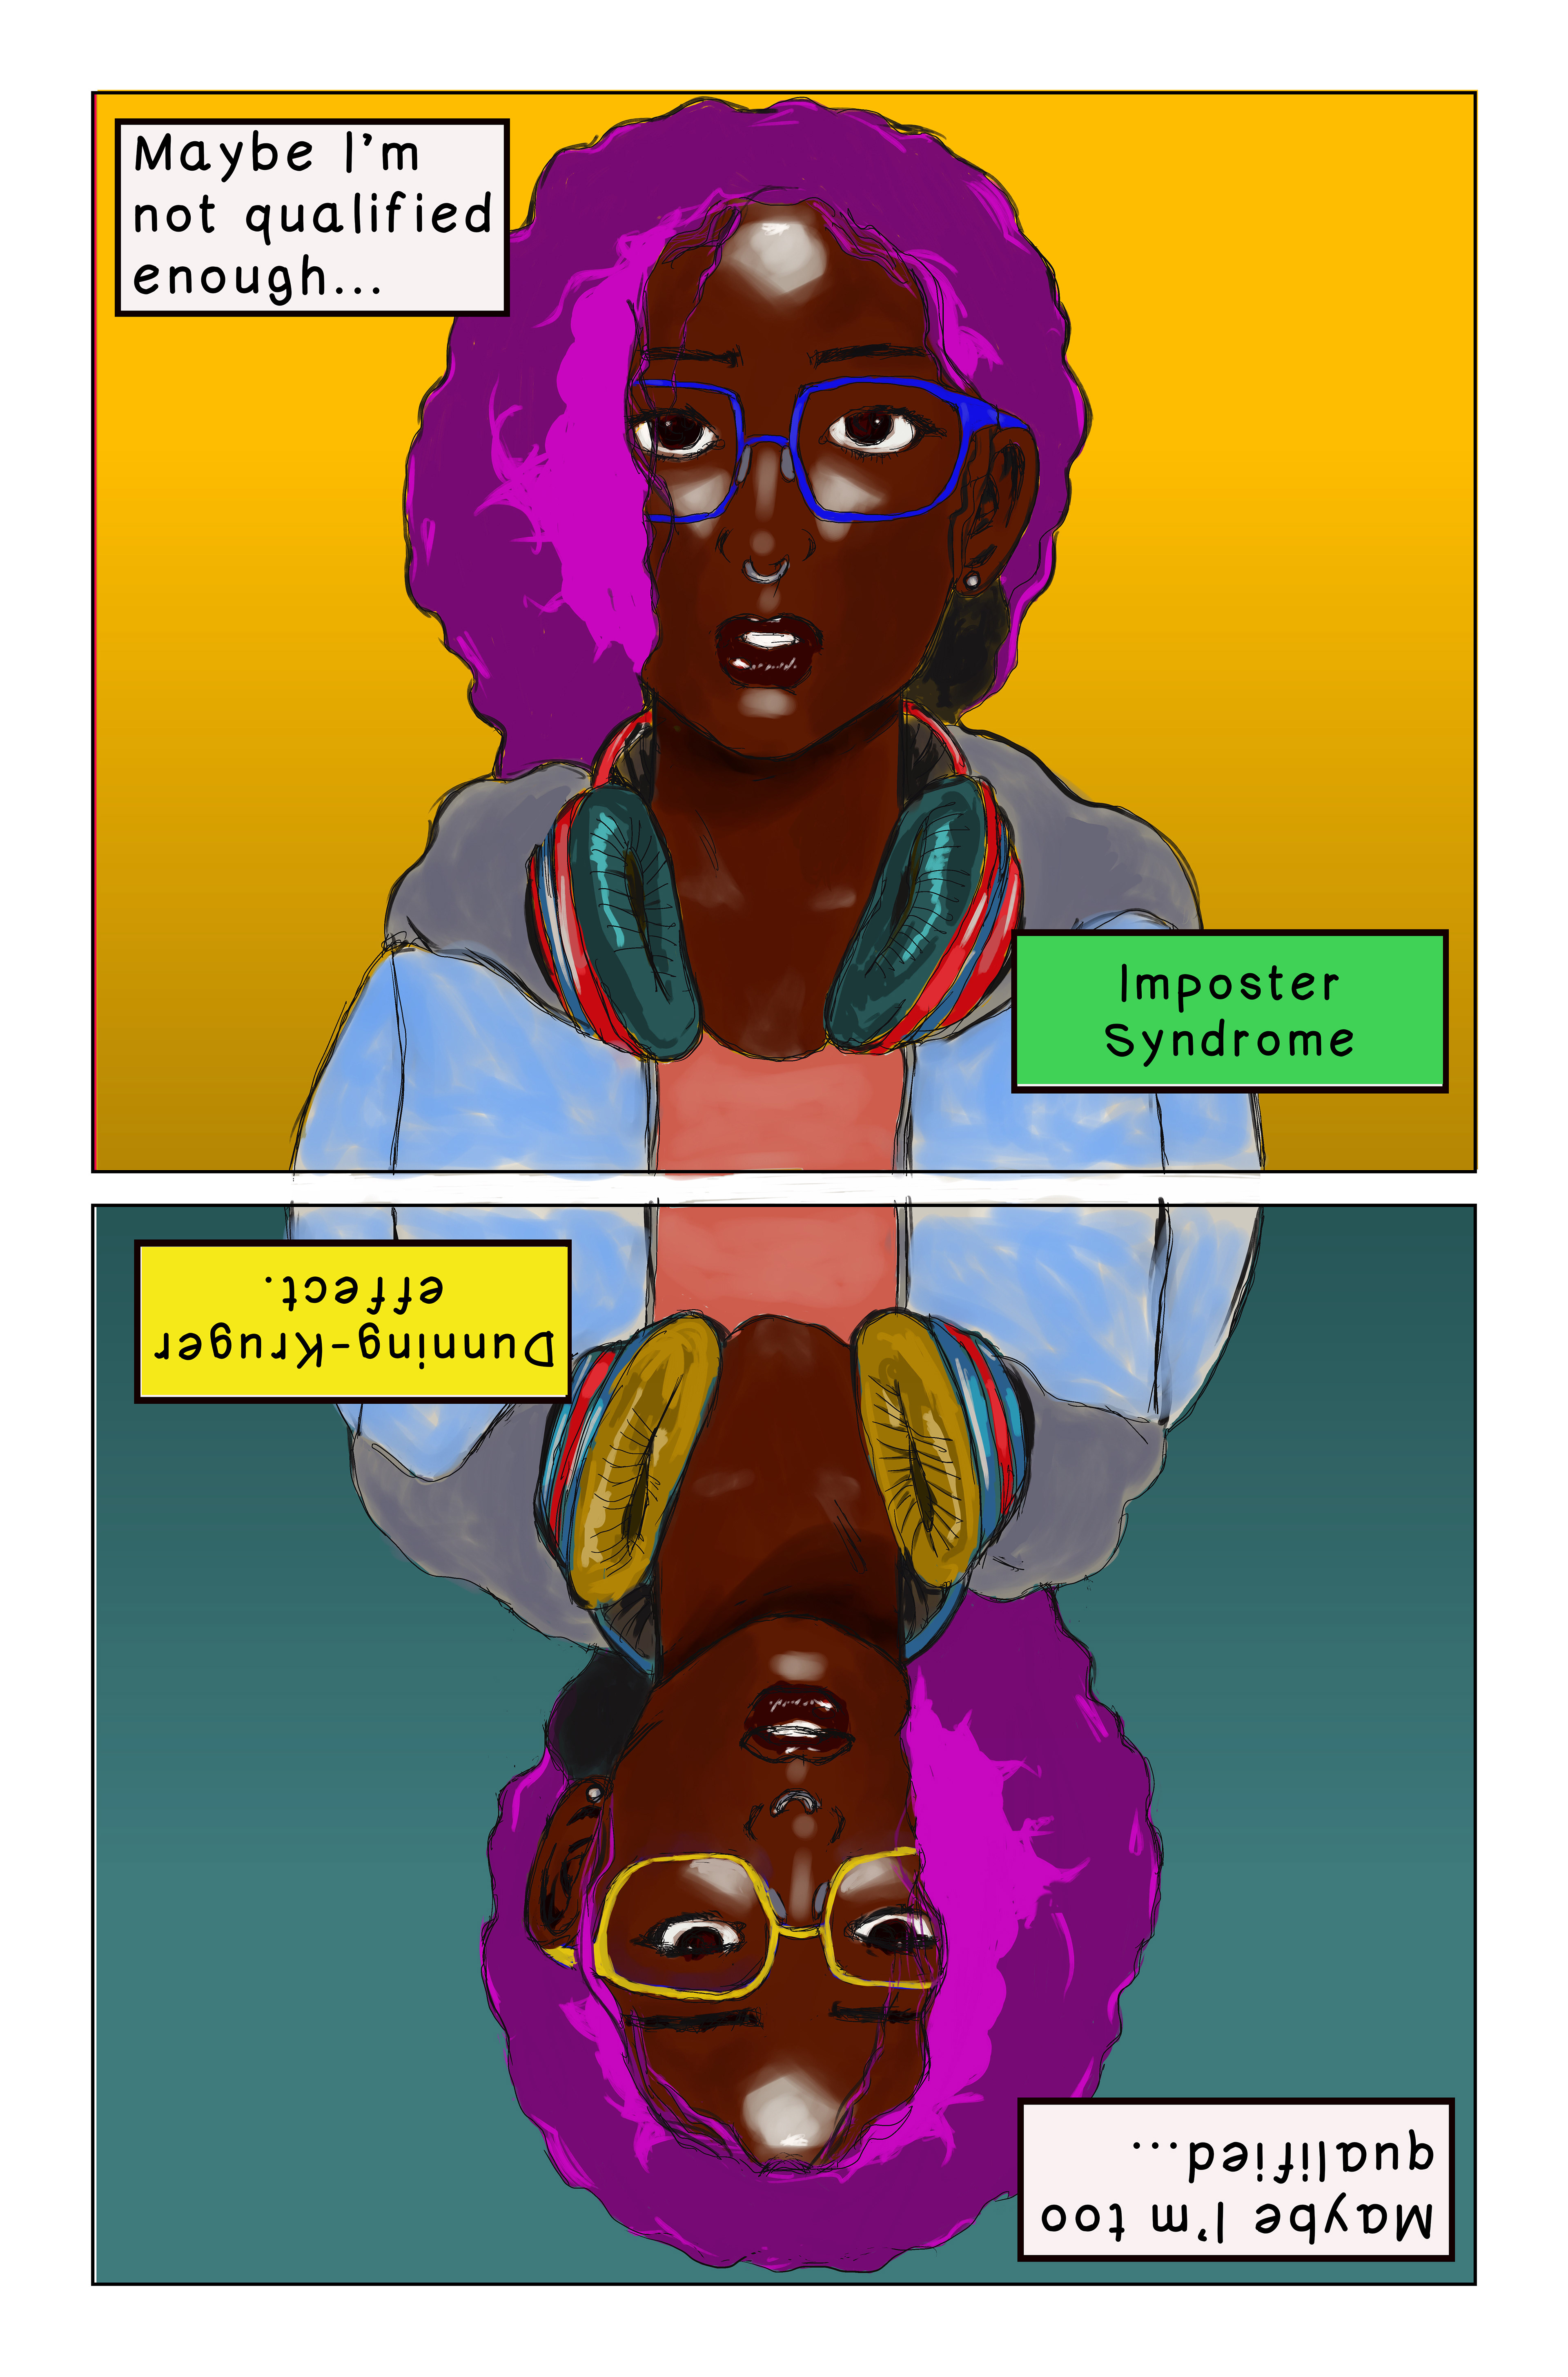
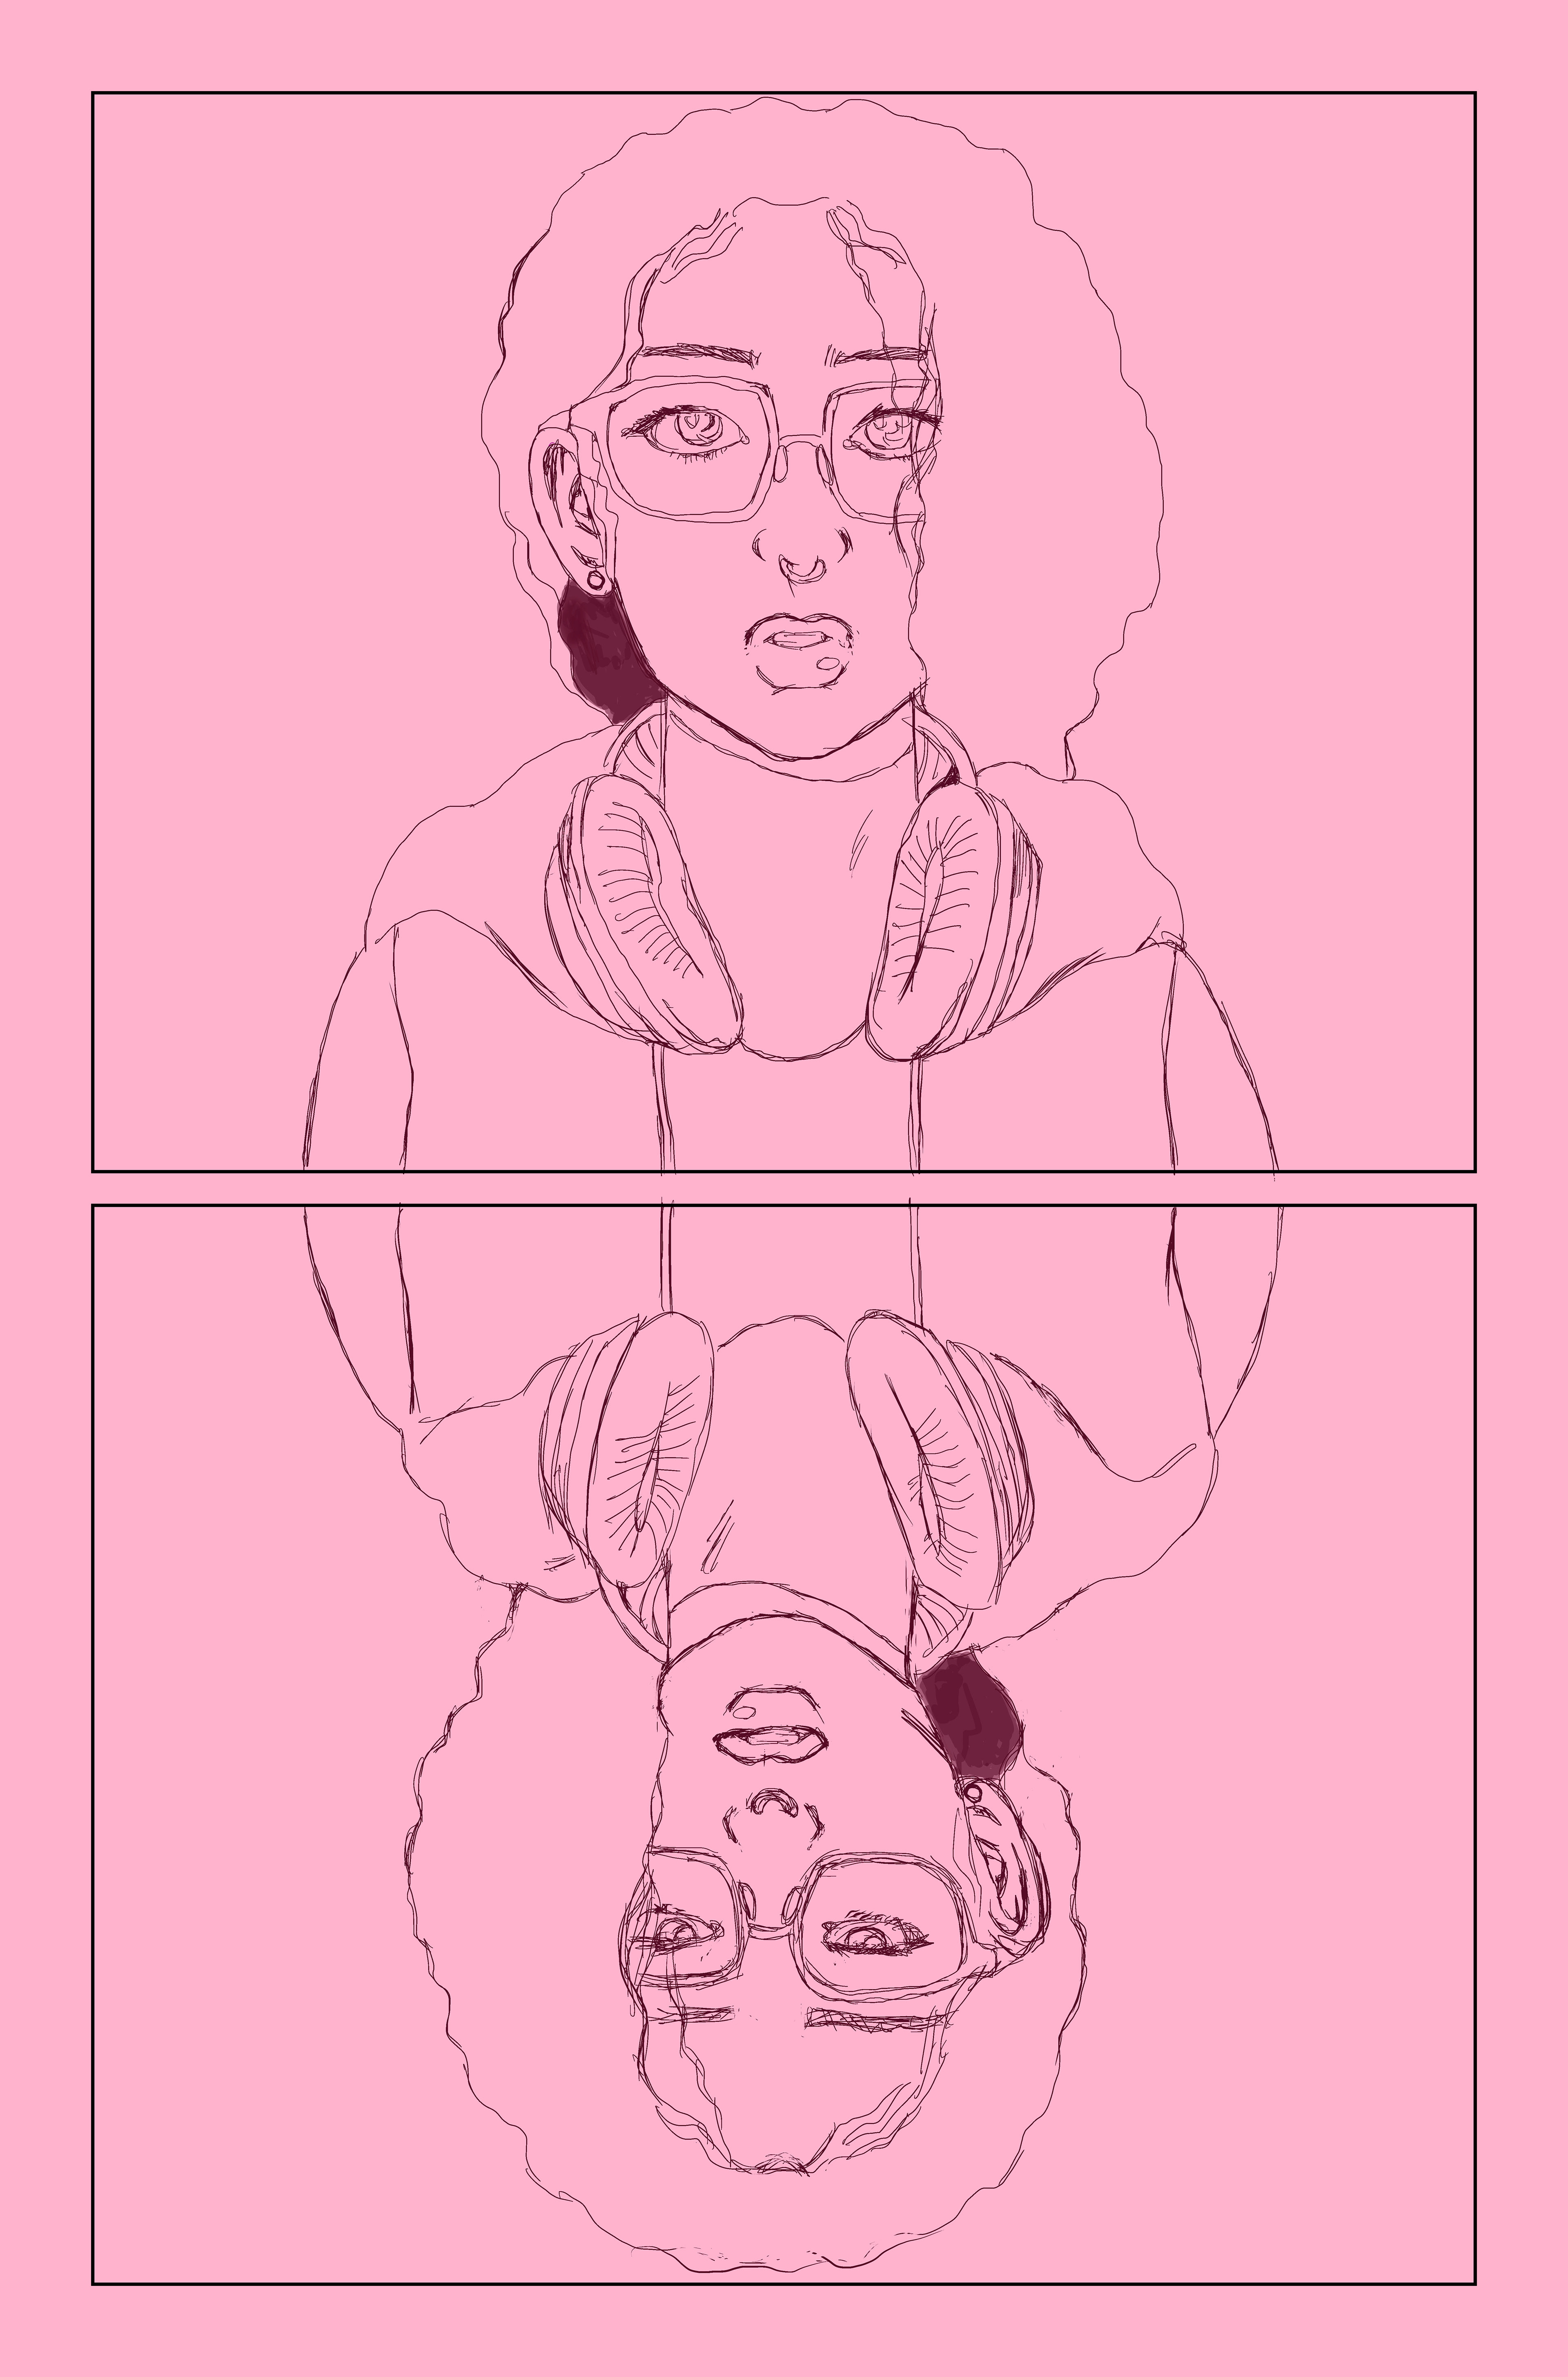
6: Inking
Where the magic happens:
This is where I trace my sketched pages in (digital) ink. I can adjust the images a bit if needed, but seldom do thanks to my roughs and sketches.
Dexterity and precision is the name of the game here, because although you can generally afford to make more mistakes digitally, in contrast to working with paper, you generally want to keep the habit of maintaining consistent line weights throughout the book.
7: Clean-Up.
This last step is self-explanatory.
This is the step where I go in close and clean up mistakes. I usually add a bright solid colored layer behind my page to see what I’m doing, and do adjustments like filling in holes or erasing excess inks. I then flatten the file and export it, usually as a high-res jpg and png file before sending it for color, balloons, and captions.
This process is my favorite because there’s no deep artistic thoughts associated with it. It’s basically just your good ol’ cleaning after yourself.
And there you have it folks: Patrice’s guide to drawing comics. See you on the flip side, where we will explore the wonders of Coloring and Balloons, and Captions, but until then thanks for coming on this adventure with yours truly, Be Kind & Stay Gravy!